Quote
For purpose when meet the problems when we setup and provide the environment for build android with no need to use or install
android studio. That reason why i write about this, let’s digest
What we need when build the android

Quote
As my knowledge, you have multiple way to build and assemble anything of mobile, and last progress, you will have
apkfile and easily to delivery to another platform to test and use. such as
- Gradle
- Fastlane (Mostly use for automation, but it just use gradle)
- Apache Maven
- Apache Ant
Tool is just a tool, you need to know how the way build progress work that all, but familiar with one of those can help you push the productivity, and get something. Therefore, I want to share about Gradle, as least I can guide you about cutting off effort when you want to build android with this one
But before we talk about Gradle, you need to know about Android project requirements which help to compile and show your result, I will share you about guide to install and setup, you can check your machine, It has or not, If not, you need these bro 😄, including
Install requirements
If you check the requirements and not meet, you can follow the step to install and setup your environment
Install java
First of all, with recommendation, you will need at least jdk 17 installing for except the error, and problems. With Ubuntu, the easily way you can install with apt but not meet the problems, please use the blog
With apt , you can do the command for get the java on your host
sudo apt install openjdk-18-jdk -y$ java --version
openjdk 18.0.2-ea 2022-07-19
OpenJDK Runtime Environment (build 18.0.2-ea+9-Ubuntu-222.04)
OpenJDK 64-Bit Server VM (build 18.0.2-ea+9-Ubuntu-222.04, mixed mode, sharing)
$ which java
/usr/bin/javaInstall Android command-line tools
For stable and install directly, you need to access official page of Android and find to the last, It show you about Command line tools only, Choose the version for your OS (Linux, Mac or Win)
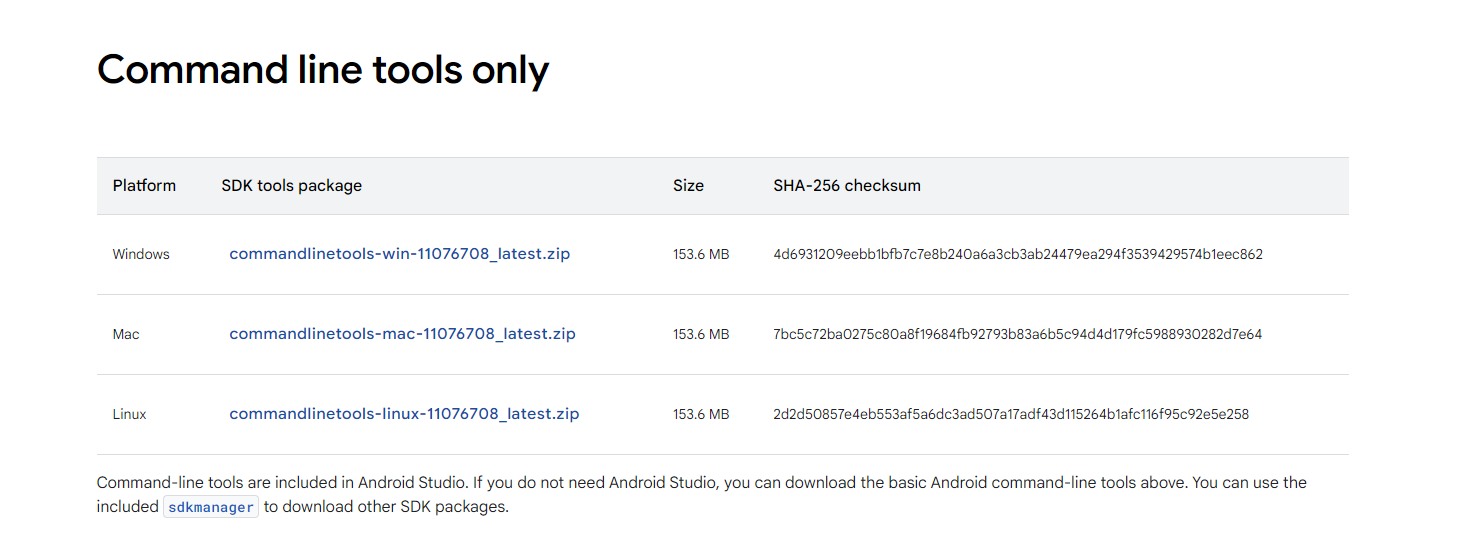
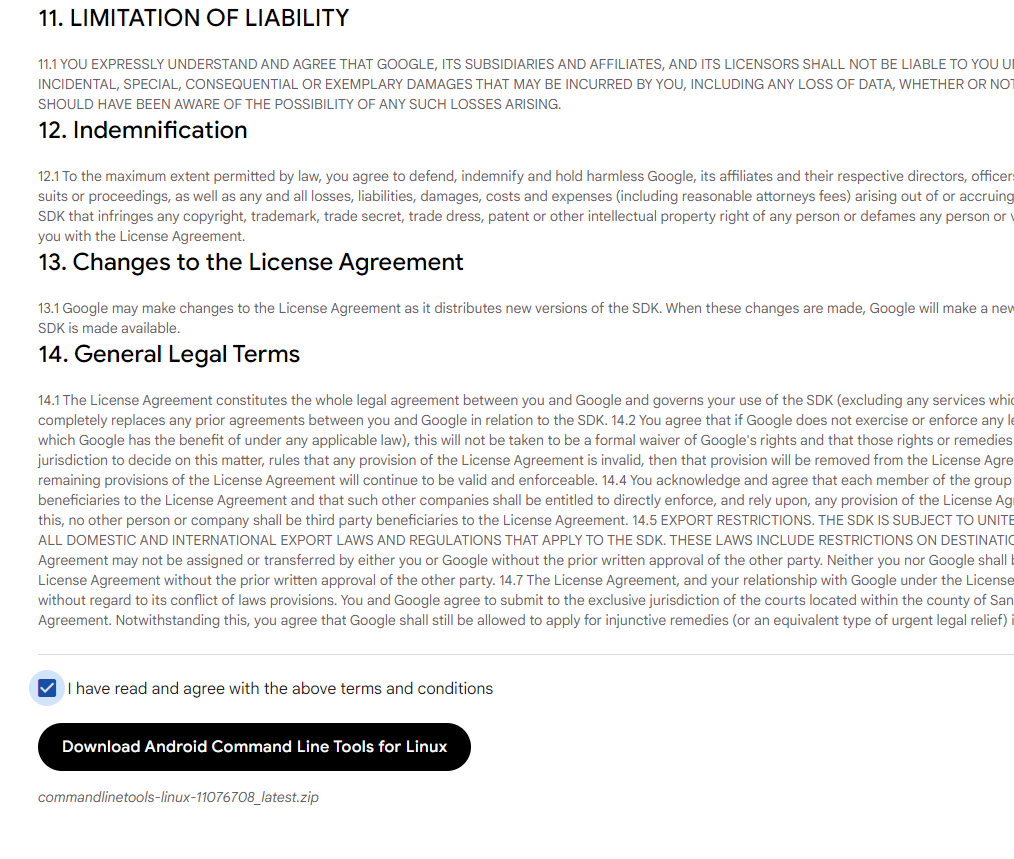
Some thing mess up in here, the link show for you need one more step approve the license and the lastly you will have link to download
After that you can use curl or wget to download these to your host
wget https://dl.google.com/android/repository/commandlinetools-linux-11076708_latest.zip && unzip *.zipAfter extract, you will have cmdline-tools
$ ls cmdline-tools/bin
apkanalyzer  avdmanager  lint  profgen  resourceshrinker  retrace  screenshot2  sdkmanager
You need to put the tools which download to system folder, such as usr/lib or usr/local for example
mkdir -p ~/.android-sdk/

mv cmdline-tools ~/.android-sdk/
UPDATE
Bug
But anything not easily, if you perform the next step and check
sdkmanager, you will met the problems aboutcmdline-tools : could not determine SDK root, and it occur fromSDK 29+🤭, so just followsdkrecommendation or fix from StackOverFlow - cmdline-tools : could not determine SDK root. You can perform like these
# Add latest folder to cmdline-tools
mkdir -p ~/.android-sdk/cmdline-tools/latest

# Moving all kind of things inside previous cmdline-tools to latest
pushd ~/.android-sdk/cmdline-tools
sudo mv bin lib source.properties NOTICE.txt latest
ls -la latest/bin
popd
Lastly, you need to export PATH for both ANDROID_HOME and bin of sdk which help your machine understand and permit for your execution
# .bashrc: Shell bash or .zshrc: Shell ZSH
echo "export ANDROID_HOME=\"\$HOME/.android-sdk\"" >> ~/.zshrc
echo "export PATH=\"\$PATH:\$ANDROID_HOME/cmdline-tools/latest/bin\"" >> ~/.zshrc

# Reload profile
source ~/.zshrc

# Vice versa with bash
Check the version of sdkmanager
$ sdkmanager --version
12.0
Install another Android SDK

Last step, you need to perform to download build-tools and platform-tools for your shell
But before perform downloading, you can list all package you can add with sdkmanager on remote repository, and --list flag
sdkmanager --list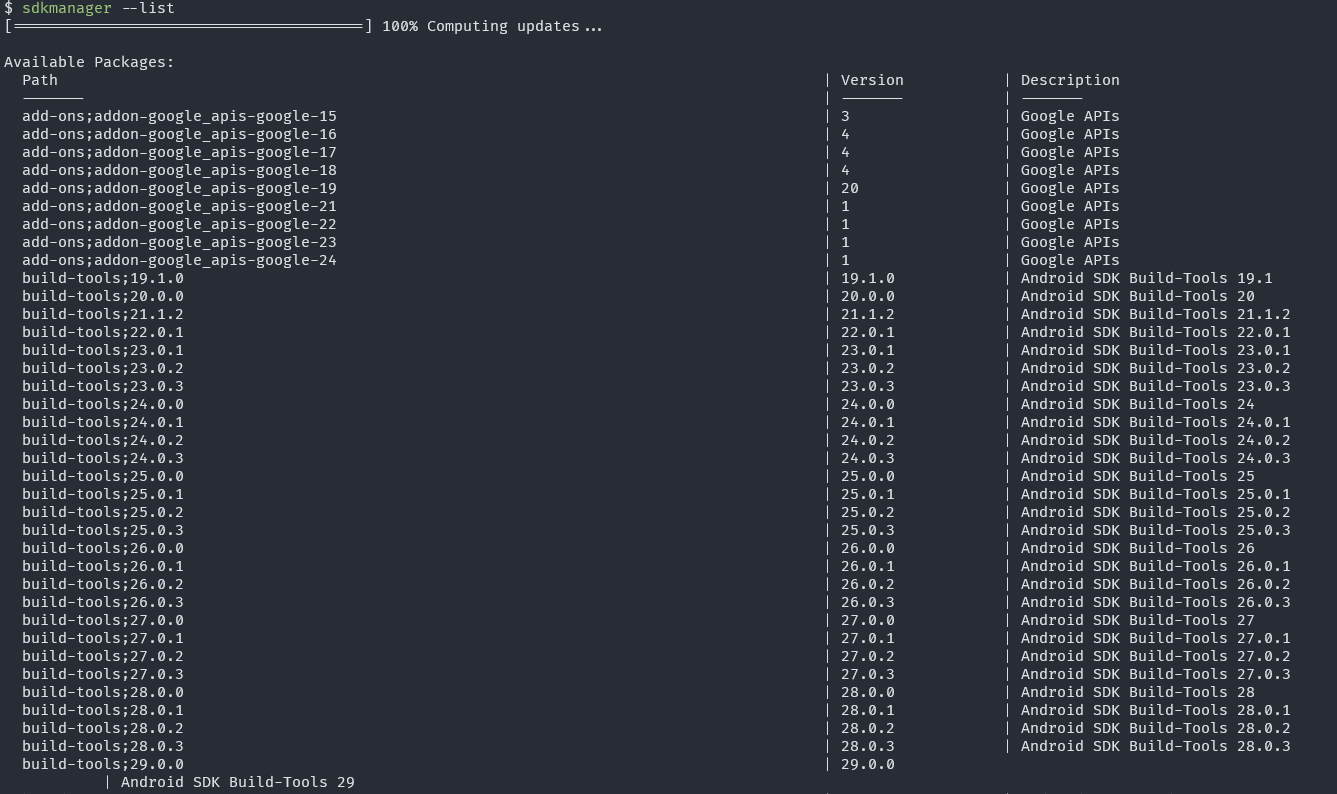
You can select the version android build and platform tools that you need. After the decision you can use sdkmanager to add them
Quote
With me, I choose the stable version for installing, and version is
Android 14, including
- build-tools;34.0.0
- platforms;android-34
sdkmanager "platform-tools" "platforms;android-34"

sdkmanager "build-tools;34.0.0"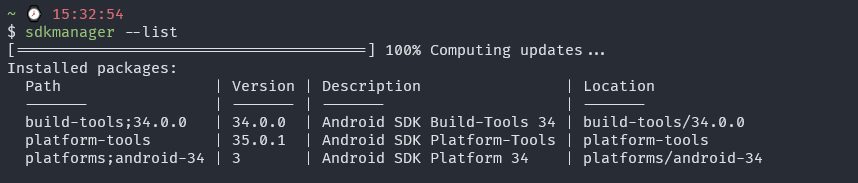
After that, you need to perform command license to perform approve and commit to use, and sdk will active these package
sdkmanager --licenses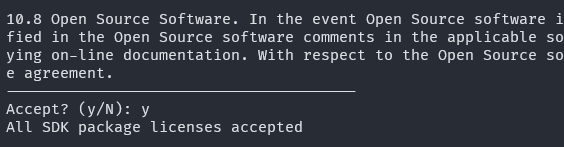
That all step you need, (optional) you can perform update command if you think necessary
sdkmanager --updateBuild with Gradle

Info
Gradle Build Tool is a fast, dependable, and adaptable open-source build automation tool with an elegant and extensible declarative build language.
From: User guide by https://docs.gradle.org/
Gradle is a widely used and mature tool with an active community and a strong developer ecosystem.
- Gradle is the most popular build system for the JVM and is the default system for Android and Kotlin Multi-Platform projects. It has a rich community plugin ecosystem.
- Gradle can automate a wide range of software build scenarios using either its built-in functionality, third-party plugins, or custom build logic.
- Gradle provides a high-level, declarative, and expressive build language that makes it easy to read and write build logic.
- Gradle is fast, scalable, and can build projects of any size and complexity.
- Gradle produces dependable results while benefiting from optimizations such as incremental builds, build caching, and parallel execution.
Which those feature and characteristics of Gradle, It suppose the first thing which you want think to build Android is Java
Following the installation guide, I will show you how we can install Gradle in your host. If you want to dive depest into gradle with Android, you can double check at Android Documentation - Gradle build overview
Install Gradle
You have two way to install Gradle, via SDKMAN or binary manual install. You can try with SDKMAN but I choose download from binary for more understand and configuration
-
You need to access Download link to get the latest Gradle distribution
-
Access next to binary-only to download compress of Gradle or use
curlwgetcommand to download from direct link
wget https://services.gradle.org/distributions/gradle-8.7-bin.zip- Next to,
unzipthe folder and Gradle folder extract
unzip gradle-8.7-bin.zip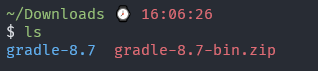
- Access
bindirectory in sidegradle, you will find twice binary find one for linux and one forDOS
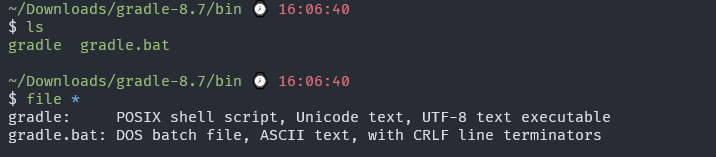
- With Linux, you just need
mvorcpthe wholegradlefolder to your execution location, for example/usr/local/bin
sudo mv gradle-8.7 /usr/local/

echo "export PATH=\"$PATH:/usr/local/gradle-8.7/bin\"" >> ~/.zshrc

gradle --version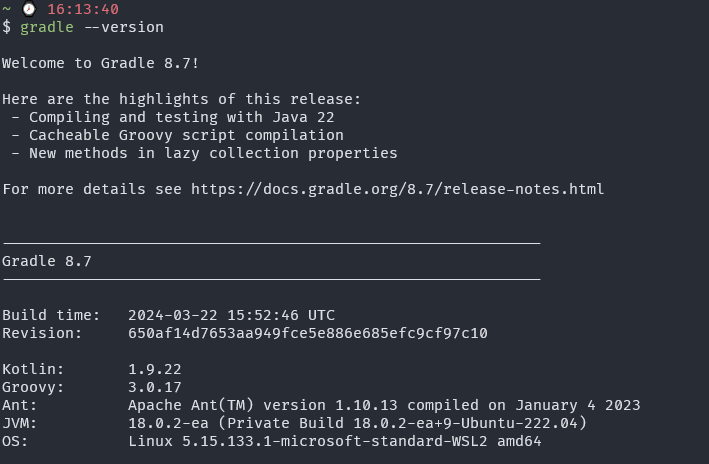
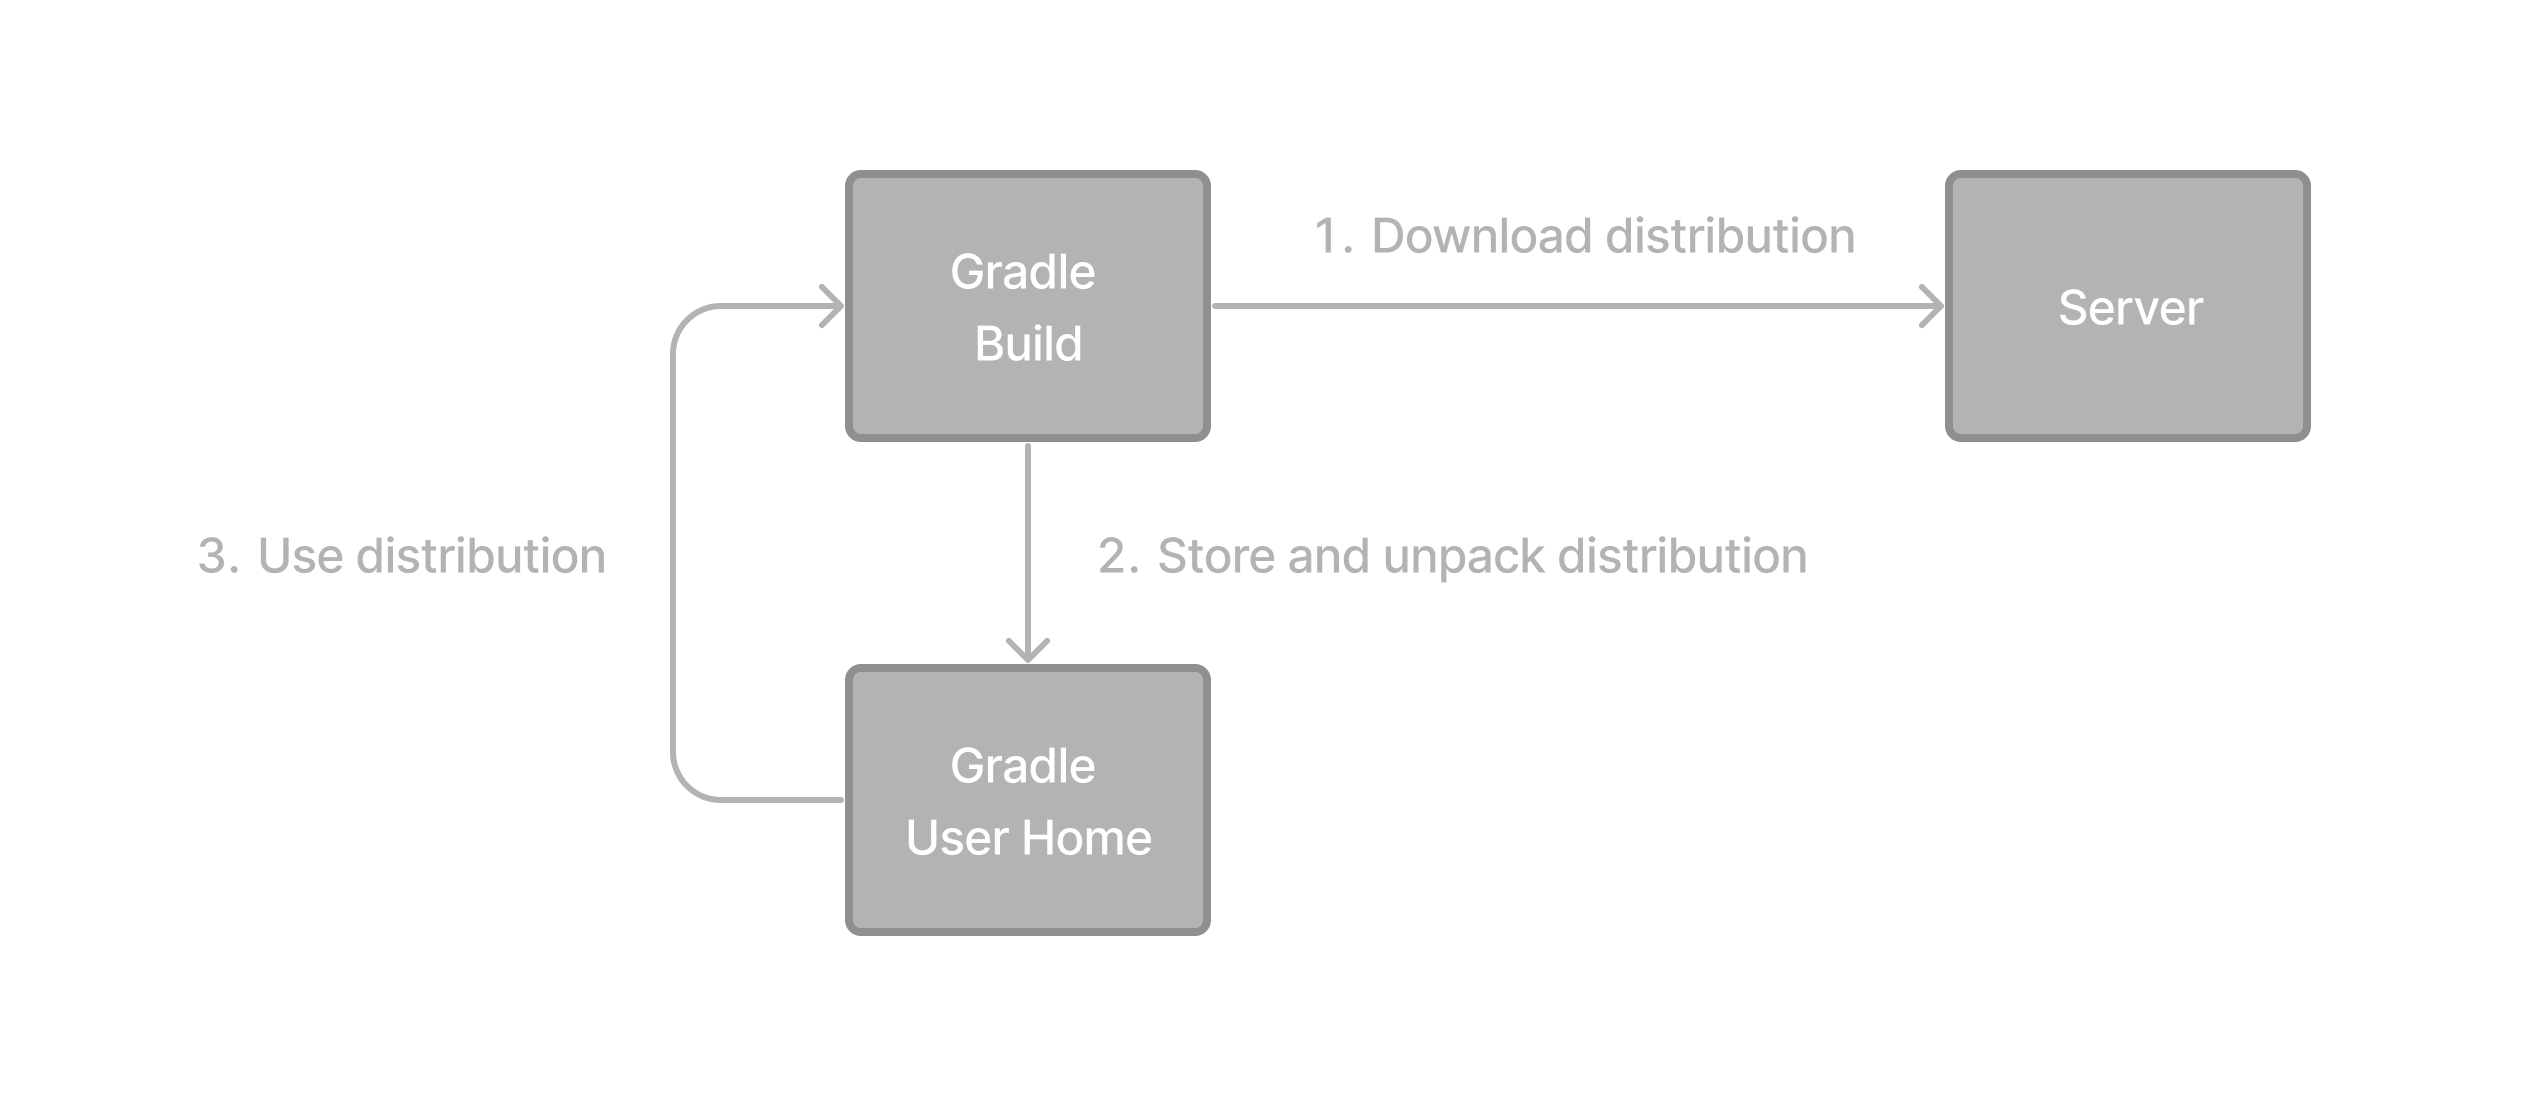
But moreover, sometime I see Developer put gradlew binary to install and setup the environment, you can image like these
And gradlew is calling wrapper of gradle, moreover can find in the documentation or explaining video
#!/bin/sh

#
# Copyright © 2015-2021 the original authors.
#
# Licensed under the Apache License, Version 2.0 (the "License");
# you may not use this file except in compliance with the License.
# You may obtain a copy of the License at
#
#      https://www.apache.org/licenses/LICENSE-2.0
#
# Unless required by applicable law or agreed to in writing, software
# distributed under the License is distributed on an "AS IS" BASIS,
# WITHOUT WARRANTIES OR CONDITIONS OF ANY KIND, either express or implied.
# See the License for the specific language governing permissions and
# limitations under the License.
#

##############################################################################
#
#   Gradle start up script for POSIX generated by Gradle.
#
#   Important for running:
#
#   (1) You need a POSIX-compliant shell to run this script. If your /bin/sh is
#       noncompliant, but you have some other compliant shell such as ksh or
#       bash, then to run this script, type that shell name before the whole
#       command line, like:
#
#           ksh Gradle
#
#       Busybox and similar reduced shells will NOT work, because this script
#       requires all of these POSIX shell features:
#         * functions;
#         * expansions «$var», «${var}», «${var:-default}», «${var+SET}»,
#           «${var#prefix}», «${var%suffix}», and «$( cmd )»;
#         * compound commands having a testable exit status, especially «case»;
#         * various built-in commands including «command», «set», and «ulimit».
#
#   Important for patching:
#
#   (2) This script targets any POSIX shell, so it avoids extensions provided
#       by Bash, Ksh, etc; in particular arrays are avoided.
#
#       The "traditional" practice of packing multiple parameters into a
#       space-separated string is a well documented source of bugs and security
#       problems, so this is (mostly) avoided, by progressively accumulating
#       options in "$@", and eventually passing that to Java.
#
#       Where the inherited environment variables (DEFAULT_JVM_OPTS, JAVA_OPTS,
#       and GRADLE_OPTS) rely on word-splitting, this is performed explicitly;
#       see the in-line comments for details.
#
#       There are tweaks for specific operating systems such as AIX, CygWin,
#       Darwin, MinGW, and NonStop.
#
#   (3) This script is generated from the Groovy template
#       https://github.com/gradle/gradle/blob/master/subprojects/plugins/src/main/resources/org/gradle/api/internal/plugins/unixStartScript.txt
#       within the Gradle project.
#
#       You can find Gradle at https://github.com/gradle/gradle/.
#
##############################################################################

# Attempt to set APP_HOME

# Resolve links: $0 may be a link
app_path=$0

# Need this for daisy-chained symlinks.
while
    APP_HOME=${app_path%"${app_path##*/}"}  # leaves a trailing /; empty if no leading path
    [ -h "$app_path" ]
do
    ls=$( ls -ld "$app_path" )
    link=${ls#*' -> '}
    case $link in             #(
      /*)   app_path=$link ;; #(
      *)    app_path=$APP_HOME$link ;;
    esac
done

APP_HOME=$( cd "${APP_HOME:-./}" && pwd -P ) || exit

APP_NAME="Gradle"
APP_BASE_NAME=${0##*/}

# Add default JVM options here. You can also use JAVA_OPTS and GRADLE_OPTS to pass JVM options to this script.
DEFAULT_JVM_OPTS='"-Xmx64m" "-Xms64m"'

# Use the maximum available, or set MAX_FD != -1 to use that value.
MAX_FD=maximum

warn () {
    echo "$*"
} >&2

die () {
    echo
    echo "$*"
    echo
    exit 1
} >&2

# OS specific support (must be 'true' or 'false').
cygwin=false
msys=false
darwin=false
nonstop=false
case "$( uname )" in                #(
  CYGWIN* )         cygwin=true  ;; #(
  Darwin* )         darwin=true  ;; #(
  MSYS* | MINGW* )  msys=true    ;; #(
  NONSTOP* )        nonstop=true ;;
esac

CLASSPATH=$APP_HOME/gradle/wrapper/gradle-wrapper.jar


# Determine the Java command to use to start the JVM.
if [ -n "$JAVA_HOME" ] ; then
    if [ -x "$JAVA_HOME/jre/sh/java" ] ; then
        # IBM's JDK on AIX uses strange locations for the executables
        JAVACMD=$JAVA_HOME/jre/sh/java
    else
        JAVACMD=$JAVA_HOME/bin/java
    fi
    if [ ! -x "$JAVACMD" ] ; then
        die "ERROR: JAVA_HOME is set to an invalid directory: $JAVA_HOME

Please set the JAVA_HOME variable in your environment to match the
location of your Java installation."
    fi
else
    JAVACMD=java
    which java >/dev/null 2>&1 || die "ERROR: JAVA_HOME is not set and no 'java' command could be found in your PATH.

Please set the JAVA_HOME variable in your environment to match the
location of your Java installation."
fi

# Increase the maximum file descriptors if we can.
if ! "$cygwin" && ! "$darwin" && ! "$nonstop" ; then
    case $MAX_FD in #(
      max*)
        MAX_FD=$( ulimit -H -n ) ||
            warn "Could not query maximum file descriptor limit"
    esac
    case $MAX_FD in  #(
      '' | soft) :;; #(
      *)
        ulimit -n "$MAX_FD" ||
            warn "Could not set maximum file descriptor limit to $MAX_FD"
    esac
fi

# Collect all arguments for the java command, stacking in reverse order:
#   * args from the command line
#   * the main class name
#   * -classpath
#   * -D...appname settings
#   * --module-path (only if needed)
#   * DEFAULT_JVM_OPTS, JAVA_OPTS, and GRADLE_OPTS environment variables.

# For Cygwin or MSYS, switch paths to Windows format before running java
if "$cygwin" || "$msys" ; then
    APP_HOME=$( cygpath --path --mixed "$APP_HOME" )
    CLASSPATH=$( cygpath --path --mixed "$CLASSPATH" )

    JAVACMD=$( cygpath --unix "$JAVACMD" )

    # Now convert the arguments - kludge to limit ourselves to /bin/sh
    for arg do
        if
            case $arg in                                #(
              -*)   false ;;                            # don't mess with options #(
              /?*)  t=${arg#/} t=/${t%%/*}              # looks like a POSIX filepath
                    [ -e "$t" ] ;;                      #(
              *)    false ;;
            esac
        then
            arg=$( cygpath --path --ignore --mixed "$arg" )
        fi
        # Roll the args list around exactly as many times as the number of
        # args, so each arg winds up back in the position where it started, but
        # possibly modified.
        #
        # NB: a `for` loop captures its iteration list before it begins, so
        # changing the positional parameters here affects neither the number of
        # iterations, nor the values presented in `arg`.
        shift                   # remove old arg
        set -- "$@" "$arg"      # push replacement arg
    done
fi

# Collect all arguments for the java command;
#   * $DEFAULT_JVM_OPTS, $JAVA_OPTS, and $GRADLE_OPTS can contain fragments of
#     shell script including quotes and variable substitutions, so put them in
#     double quotes to make sure that they get re-expanded; and
#   * put everything else in single quotes, so that it's not re-expanded.

set -- \
        "-Dorg.gradle.appname=$APP_BASE_NAME" \
        -classpath "$CLASSPATH" \
        org.gradle.wrapper.GradleWrapperMain \
        "$@"

# Use "xargs" to parse quoted args.
#
# With -n1 it outputs one arg per line, with the quotes and backslashes removed.
#
# In Bash we could simply go:
#
#   readarray ARGS < <( xargs -n1 <<<"$var" ) &&
#   set -- "${ARGS[@]}" "$@"
#
# but POSIX shell has neither arrays nor command substitution, so instead we
# post-process each arg (as a line of input to sed) to backslash-escape any
# character that might be a shell metacharacter, then use eval to reverse
# that process (while maintaining the separation between arguments), and wrap
# the whole thing up as a single "set" statement.
#
# This will of course break if any of these variables contains a newline or
# an unmatched quote.
#

eval "set -- $(
        printf '%s\n' "$DEFAULT_JVM_OPTS $JAVA_OPTS $GRADLE_OPTS" |
        xargs -n1 |
        sed ' s~[^-[:alnum:]+,./:=@_]~\\&~g; ' |
        tr '\n' ' '
    )" '"$@"'

exec "$JAVACMD" "$@"
How to build the android
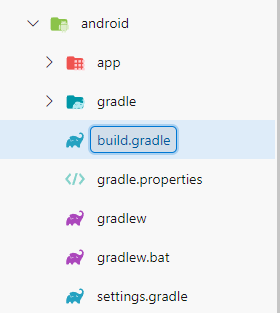
When you build the android, you need to put the file inside the app folder, called build.gradle. These documentations can helpful for you , because I do not familiar with theses but maybe you know about that
On my circumstance, DevOps is not define these, you know all of these will prepare and just actually run the command, on the package.json and related command for execution the build process. Therefore, expectation I will find the way to perform build and assemble to apk file
Usually use can use gradlew wraper with option assembleRelease to bundle build and compression anything else, and output for us the .apk file.
// Top-level build file where you can add configuration options common to all sub-projects/modules.

buildscript {
    ext {
        buildToolsVersion = "33.0.0"
        minSdkVersion = 21
        compileSdkVersion = 33
        targetSdkVersion = 33
        // We use NDK 23 which has both M1 support and is the side-by-side NDK version from AGP.
        ndkVersion = "23.1.7779620"
    }
    repositories {
        google()
        mavenCentral()
    }
    dependencies {
        classpath("com.android.tools.build:gradle:7.3.1")
        classpath("com.facebook.react:react-native-gradle-plugin")
    }
}
./gradlew assembleReleaseSuccess
When you perform command, usually the
apkfile can compress and locate in/app/build/intermediates/apk/debug/<name>.apk(Withgradlew) orapp/build/outputs/apk/release(Withfastlane) or maybe on the other route base on your version ofgradleandgradlew. You can follow the articles for more understand: Build your app from the command line
Conclusion
Info
That all for today, I hope this blog can help you something on setup and prepare the environment for build the android project. You can combine all these task with just one file and click, and anything will completely ready.
Quote
When you learn a new thing like android, the new cool experience with me.
GradleandGradlewthat such a cool things. Maybe I don’t familiar much withGradleorMavenbut on the another session, I and you will explore more about that. So farewell @all, stay safe, hacking and learn more incredible things
Reference documentation